

Displaying content on different pages, splitting up the content on different pages, creating special authorized access-only pages is what Routing is used for.
To create a basic route Angular application, let us start by creating a routing project using Angular CLI like stated below:
ng new routedemo –routing
In the above command, we simply instructed Angular CLI to create a project which involves routing and that it must create a separate app-routing module. In Visual Studio Code, we can see:

Now that CLI has set up the environment for us, let us go on to import some statements.
Step 1. Make sure that AppRoutingModule is imported inside the app.module.ts
Step 2. Inside app-routing.module.ts, use the following import statement.
import {Routes, RouterModule} from ‘@angular/router’;
Step 3. Angular CLI also generates a routes array to include the list of pages which are to be routed to as:
const routes: Routes=[];
Inside the routes array, there are two main properties:
a) path
b) component
To begin with creating a route from one page to another, let us create two components. let us name them first.component.ts and second.component.ts
Our components should look like this:
 first.component.ts
 second.component.ts
Now, to give a path and component to our created components, we go to the routes array:
{path: ‘first’, component: ‘FirstComponent’},
{path: ‘second’, component: ‘SecondComponent’}
Now after compiling it, let us look at the results.
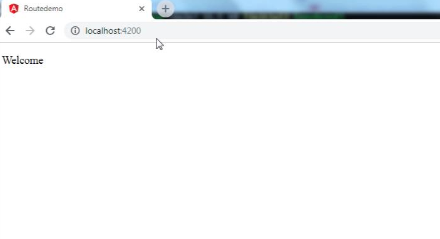
Homepage (localhost:4200)
Route to First Component (localhost:4200/first)

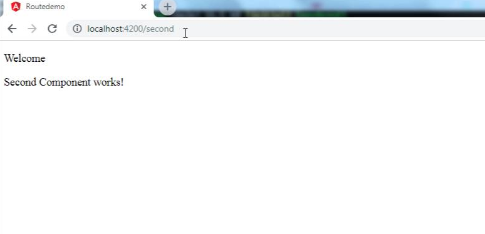
Route to Second Component (localhost:4200/second)
To summarize, using the path and component properties of the routes array and importing all the required modules, we can create basic routes in Angular.
1 comment